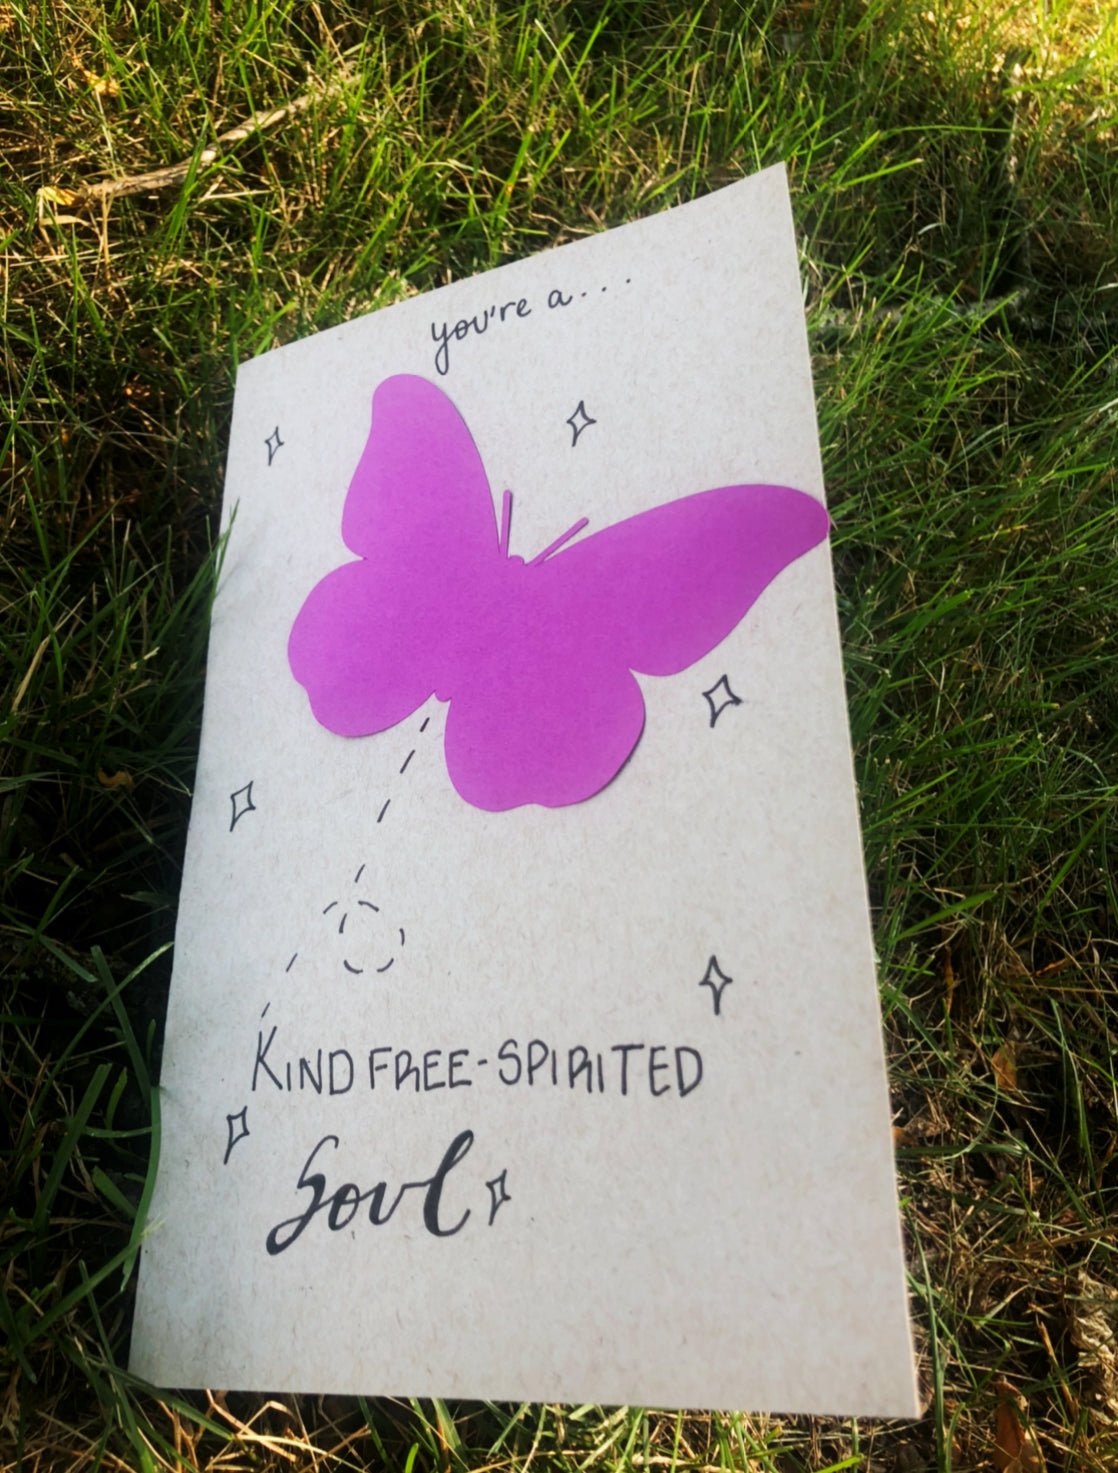
Life gets busy, and sometimes you forget to check in on the people you care about. If you want to let a friend or loved one know how much you truly appreciate them, a handmade butterfly greeting card is the perfect way to show them you care. As a symbol of hope, beauty, and transformation, a paper butterfly is a sincere way of celebrating another’s growth while you’re apart. Learn how to craft your paper butterfly card with these simple steps.
Butterfly Card Meaning
The inspiration behind this card derives from a butterfly’s lifecycle in nature. These insects go through a significant metamorphosis—transforming from a grounded caterpillar to a fully in-flight butterfly. This form of change is something we see all around us, and experience daily in our own lives. In many ways, change inspires new journeys, ideas, and concepts. And just like we do with butterflies, we should celebrate the beauty of change in others.

How to Make a Butterfly Card with Paper
Follow these steps to craft your own DIY butterfly pop-up card.
Materials:
- Paper base: Chipboard Kraft Cardstock
- Butterfly layers: Plum Crazy Specialty Pack; Grapesicle, Plum Punch, Grape Jelly
- Cricut
- Cricut design: Butterfly Cutout
- Glue
- Pen
Butterfly Cutout Steps:
- Open the Butterfly Cutout in your Cricut design space.
- Load in the Plum Punch cardstock and cut the base of your flat butterfly for the card front.
- Load in the Grape Jelly cardstock and cut the base of your popup butterfly for the card interior.
- Load in the Grapesicle cardstock and cut the wing detailing of your popup butterfly that will lay overtop the base.
- Repeat step 4 so that you have two wing detailing cutouts for the popup butterfly.
Crafting Steps:
- Take a sheet of your Chipboard Craft Cardstock and fold it in half so that the middle-crease of your card is defined.
- Glue together your Grapy Jelly cardstock butterfly base and one of your Grapesicle cardstock wing cutouts. Let it dry, then gently fold in half.
- Take your other Grapesicle cardstock wing cutout and gently fold it in half. Then, place a few small dabs of glue on the underside of the center fold.
- Open your folded glued together base and wing cutout from step 2, then center your additional wing cutout from step 3 on top to create a pop-up effect. Let it dry.
- Apply glue to the back of your pop-up paper butterfly and center it in the middle interior of your folded card so that the fold creases align. Let it dry.
- Close your card and then apply glue to your Plum Punch butterfly cutout. Place the butterfly at an angle in the center of your front card. Let it dry.
- Write a kind-hearted message on the front and interior of your card.
- Sign and mail your beautiful butterfly pop-up card!

Customization:
Aside from inserting your own message, additional ways to customize your butterfly paper craft card include:
- Using the Butterfly Cutout design, cut additional butterflies to add to the front or back of your card with remaining colors, such as Cotton Candy and Pink Lemonade in the Plum Crazy Specialty Pack.
- Resize the butterfly design. Cut and glue additional small butterflies all around your card.
- Use resized and cut small butterflies as confetti inside your card.
- Explore the Cricut design space to cut additional flowers and shapes with your craft paper and add them to your card.
Related content: Finding Your Inspiration With French Paper!
Keep Your Inspirational Paper Crafting in Flight
There are so many ways to celebrate those you love with handcrafted paper art! Whether it’s with a card, a handmade print, an ornament, or a framed cutout design, French Paper has quality craft paper for any creative project. If you need some help navigating our selection, contact us online or give us a call at 1-800-253-5952.

